Social acceptance for hemp products is through the roof, and it seems to still be growing every day. With that, more users than ever before are taking advantage of legal hemp products, including our hemp flower. And you might even be one of these new users! New to this world, though, you might not know how to clean your bowl when you’re done just yet.
Why You Should Learn How to Clean Your Bowl
When you first smoke from a new piece, the glass is a shining, clear vessel. You get the cleanest burn and often a wonderfully heightened experience. As time goes on, though, the piece gets muddied with resin. That tar-black, glue-like residue that forms as hemp flower burns is the bane of a smoker’s day.
With the choice to smoke hemp, the biggest downside is the maintenance. If you prefer pipes or bongs, you’ll need to know how to clean your bowl.
And, sure, it’s not the end of the world — but it could also always be easier. That’s what we want to show you today.
Plus, too much resin can become harmful to breathe. It can act as a potent growing ground for bacteria. Not to mention, it can severely alter the flavor you experience.
In this guide, we’ll go over the do’s and don’t’s on how to keep your piece clean. Let us help your pipes, bongs, and other paraphernalia from smelling like a burned heap of regret!
We’ll touch on how often you should be doing this kind of maintenance, too.
Overall, we want this guide to give you a fighting edge on keeping your equipment clean and user-friendly. Let’s dive in.
How Often Should I Clean My Piece?
First thing’s first: how often do you have to do this whole maintenance thing?
And, of course, we're not talking about when you should dump the ash of your empty bowl. Do that after each bowl's cashed!
Pro-tip: Keep a toothpick, bobby pin, safety pin, or similar object handy to scrape out the ash in the bowl faster.
Believe it or not, maintenance frequency absolutely depends on what you’re using. There’s a difference between things like solid glass pipes and bongs when it comes to cleaning.
- As a rule of thumb, bongs should be at least rinsed daily and pipes should be cleaned once a week.
Now, you may know a smoker or two that doesn’t follow these guidelines.
You may even be one of these smokers.
Do you have a daily cough? Are the hits you take rough or harsh? Dirty pieces can often be the culprits.
- Especially for bongs, you should at least be changing out the water once a day.
Why Do Bongs Need More Attention?
Bongs have a much more frequent requirement due to the internal environment. Water and moisture are prime real estate for bacteria and mold. As resin builds, the risk grows exponentially higher with each passing day. This can cause all sorts of issues, including risks to your own well-being.
Dry pipes gain a little bit of leniency due to the lack of moisture associated with their use. This gives a much longer window of safety and enjoyment before the resin build-up becomes a real problem.
Either way, a routine cleaning regimen is highly recommended. Use our suggested windows to keep the best results for safety.
Plus, you’ll get the most satisfying experience when smoking by keeping your pieces clean. Not only does a dirty bowl lessen the flavor, but it also lessens the potency. You’re literally losing cannabinoids in the resin if you don’t clean it regularly!
 How to Clean Your Bowl (and the Rest of Your Piece)
You could be new to smoking hemp or a veteran in the art of smoking cannabis. Regardless, it doesn’t hurt to maintain your glassware at the best level possible. In fact, it’s only beneficial. Not cleaning your bong can lead to “Marijuana “bong” pseudomonas lung infection,” which is a severe type of pneumonia.
Luckily, there are multiple ways to clean your bowl.
We’ll mention a few different methods so you can decide which feels best for you. You may have some of these items on hand. Or, if you have the ability, you can purchase specialty products that make cleaning immensely easier.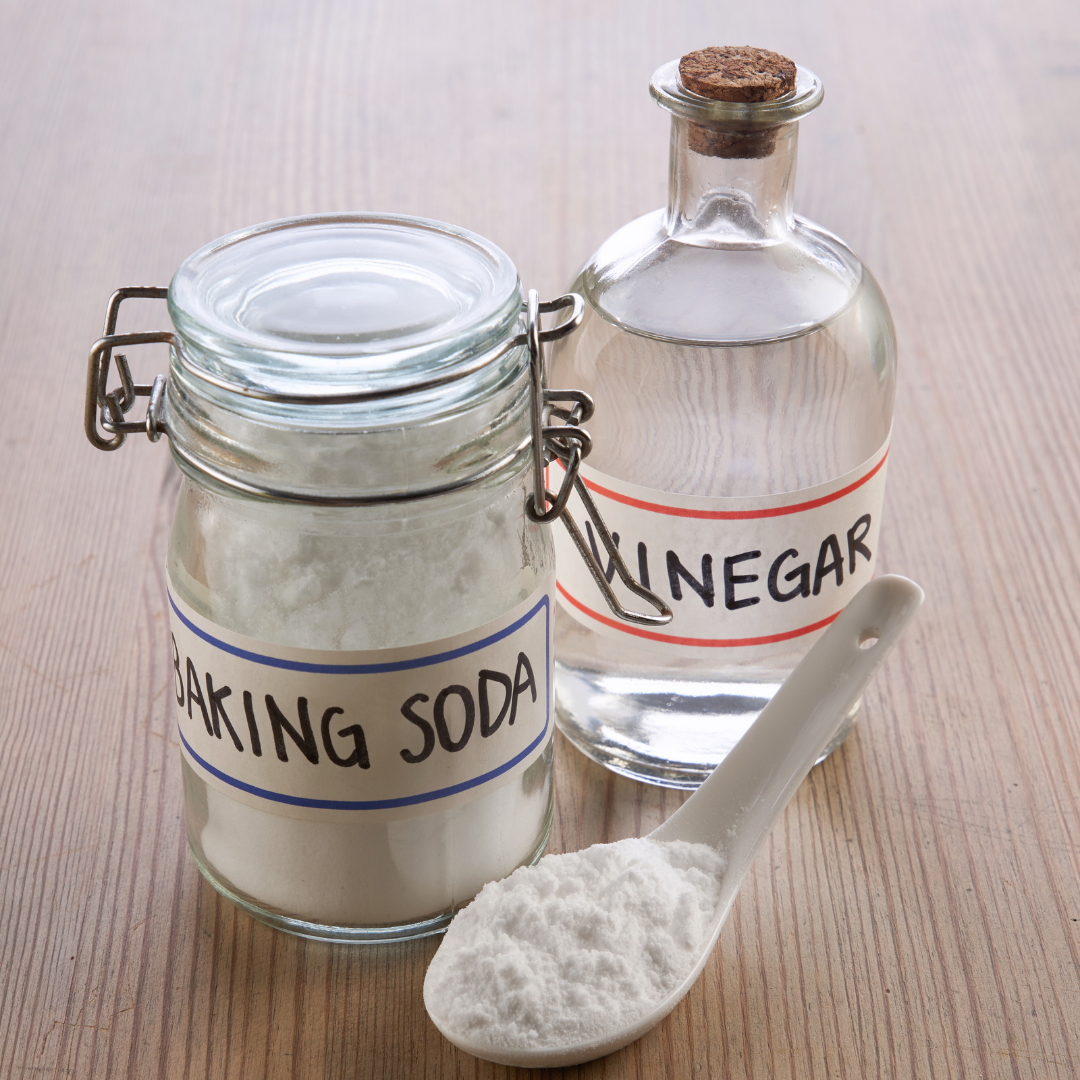
Baking Soda and Vinegar
Not all options include a super harsh chemical or proprietary product. Some people opt to use a homemade blend of baking soda and white vinegar. In fact, it’s a tried-and-true method; certainly one of the classics in the cannabis world.
Both baking soda and white vinegar are completely natural and safe. And, they can usually already be found in the average kitchen.
How Does Baking Soda and Vinegar Clean a Bowl?
If you’re curious about the science behind it, we’ll fill you in.
Baking soda acts as a water softener, which keeps harder water from being too abrasive on your piece. This helps especially with pipes that have decorative patterns or designs.
Likewise, harsh fluid can quicken their visual degradation. White vinegar will act as your main ingredient that removes resin and loosens the waxy build-up found along the walls of your pipe.
A natural solution like baking soda and vinegar is less likely to harm the piece’s appearance. When combined, these two ingredients activate a safe chemical reaction that produces CO2 gas. This makes a solution that is only semi-abrasive and still gentle enough to be perfect for cleaning glass.
Let’s get into the actual step-by-step to give you a clearer picture.
1. Remove all ash and any loose deposits
- Remove as much buildup as you can before you put your piece in the baking soda-vinegar solution. You can do this with a cotton swab or something similar. Simply brush away and wipe off as much resin and gunk as you can.
- This gets rid of loose debris. It also makes it easier to get to the resin lodged around the exposed bowl area and the mouthpiece.
- With this out of the way, your cleaning solution can spend more time removing the harder-to-reach parts of your piece.
2. Make your cleaning solution and add the piece
- Mix around three tablespoons of baking soda into a cup of white vinegar.
- After its combined, pour the solution into a tight-sealing ziplock bag.
- Drop your pipe into the solution, gently, and seal the entire thing. It's important to make sure the entire piece is submerged in the cleaning solution.
- Try to leave the pipe in the bag for an hour or two at least. This gives the solution time to really break down the persistent gunk found in hard-to-reach parts of your piece.
3. Hot water soak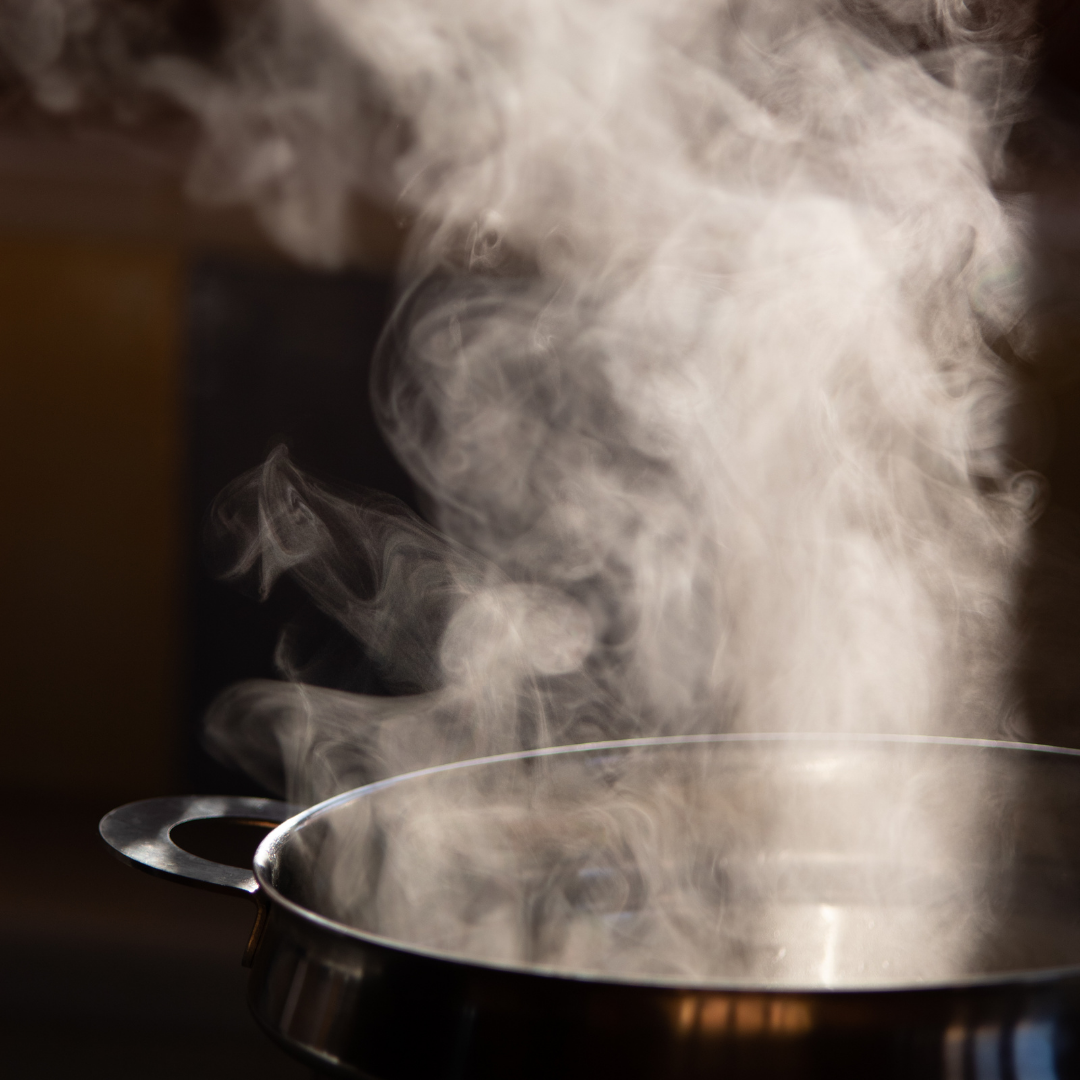
- As the two-hour mark approaches you will want to get a pot ready for boiling on the stove. Once you get a nice boil going, remove the pot from heat.
Note: this step is for pipes on bong stems. Whole bongs are not recommended to soak in near-boiling water!
- Transfer your stem or pipe over to the now-heated water. Leave it here for the next 20 minutes or so.
- After about 20 minutes, check the pipe to see how much has come out using waterproof oven mitts or tongs. Be careful at this step because the water will still be hot.
Don’t place your pipe or stem in cold water to cool. The change in temperature could cause the glass to crack or shatter.
4. Manually clean out what you can
- After it’s soaked in the hot water bath, it’s time to manually clean out what gunk is left. You can use a cotton swab, like in step one, or a small brush. This will remove the greasy wax debris that has been loosened by the solution and hot water.
This is not quite the end of the process, but we’re getting close!
5. The final rinse and clean
Make sure your glass returns to room temperature before this last step.
- Once it’s cool to the touch, rinse the pipe under cooler water (though warm is recommended).
- Do one final pass with cotton swabs to get whatever may still be clinging to your pipe.
 Isopropyl alcohol and sea salt
This is another tried and true approach to a clean pipe or bowl. When it comes to at-home cleaning processes, alcohol and sea salt is probably one of the most well-known methods.
This method doesn’t require a stovetop or to boil water. If you want to avoid the risk of accidental scalding, this may be the option for you.
Your list of material is different here, and as such are listed below:
- Coarse sea salt
- 99% pure isopropyl alcohol (we don’t recommend any less than 70%)
- A clean towel
- Rubber stoppers or plugs (especially handy for bongs)
- 1-2 large zipper storage bags
Once you get together all the things listed above you can start prepping your cleaning solution. It is important to note that each piece being cleaned needs its own zipper bag.
1. Place Individual pieces in individual bags
- Carefully place each piece in a separate zipper bag. Each piece requires its own bag since you’ll be doing some vigorous shaking. Having more than one in a bag risks breaking or chipping the glass.
2. Add your solution
- With each piece to be cleaned already bagged, now it’s time to add the agents for the heavy lifting. For each bag, add a handful of sea salt.
- After the salt, add rubbing alcohol until the salt and piece are completely submerged.
Adding a little too much alcohol is better than not adding enough. If it doesn’t seem like quite enough, add a bit more.
The next two steps specifically cover giving a water pipe the same cleaning treatment. If you’re only cleaning a bowl, stem, or pipe you can move past steps 3 and 4.
3. Empty your water pipe (If cleaning that too)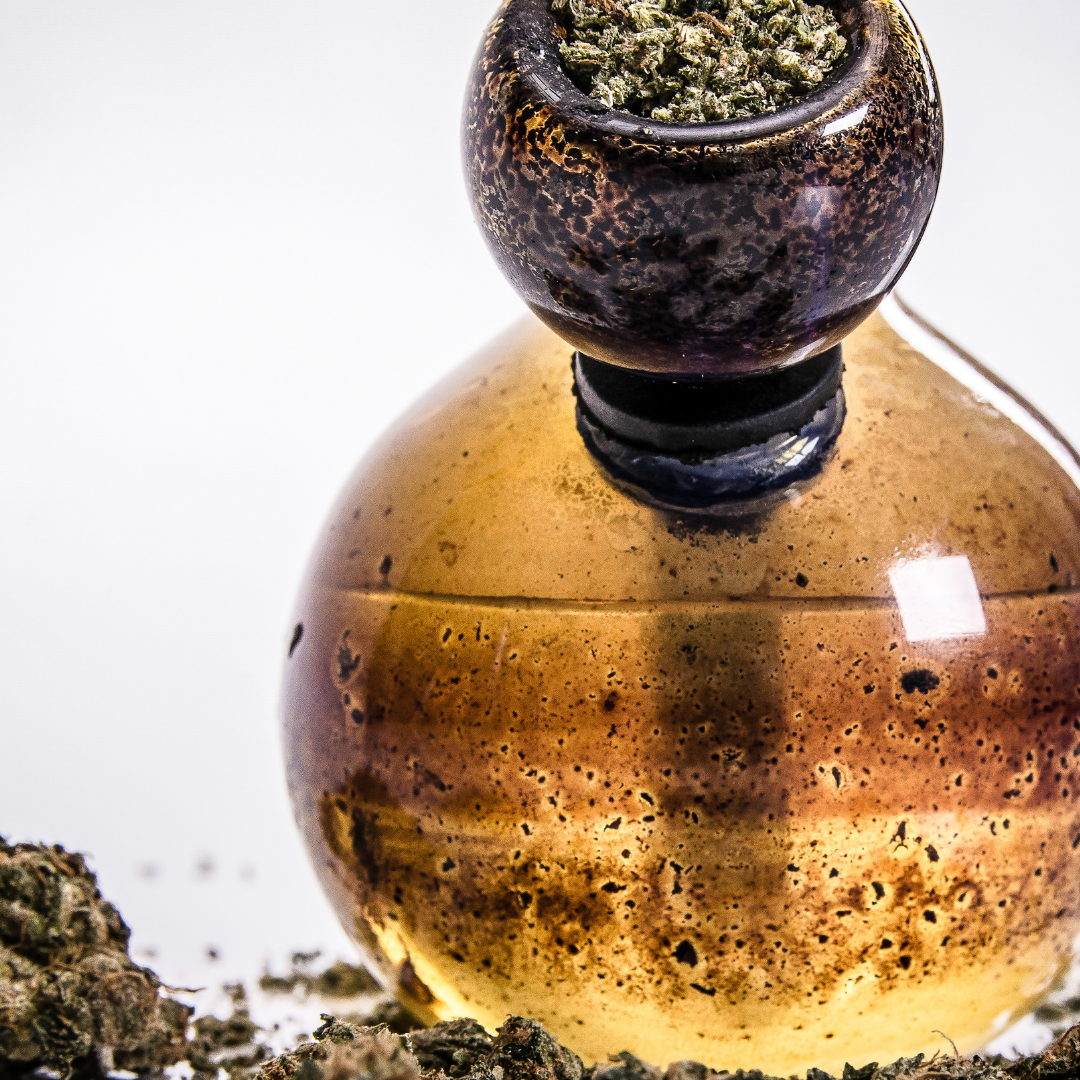
- Pour out any standing water you may have in your bong from prior use.
- Once that’s empty, pour a good handful of salt down the mouthpiece into the main chamber. You will want to use enough salt to coat the entire bottom surface of the base.
- Then, add about ¼ cup of rubbing alcohol to it and let it settle at the bottom.
4. Plug it up
- This is where your rubber stoppers come in. Both the mouthpiece and the stem hole need to be covered or plugged before proceeding. Luckily, plugs are available online from places like Amazon, or even at your local head shop.
5. Shake and shake some more
- Be it the water pipe itself, or one of the bags with a glass segment, now you need to shake it. Start shaking it up and down or back and forth. Friction is key here for cleaning.
- The abrasive nature of salt and alcohol will start to chip away at the build-up of resin within your glass. This can take between just a few minutes to much longer depending on how thick the residue is.
- As you go the liquid should start to become murky and full of debris. Once a large amount of visible resin has come loose, it’s time to dump the solution.
6. Rinse
- Once most of the resin has come loose and you have drained your bag or water pipe, it’s time to give your piece a thorough rinse with hot water. This will push out any loose sediment still inside.
- Once the rinse is finished you can see if there is any resin still caked within your piece. If there is, just repeat this rinse step until it all gets pushed out.
It’s important to note that skipping this step is not considered safe. The rinse helps remove now-loosened resin, but more importantly purges the glass of any alcohol that may be left behind. Any resin still sticking to the glass internally may be coated in rubbing alcohol, which makes the piece less safe.
- Does your water pipe or pipe have any extreme angles within? Really get in there with a pipe cleaner or cotton swab to dislodge any stubborn buildup.
Once this step is complete, just allow your piece or pipe to air dry and it’s good to go.
 Store-Bought Cleaning Solutions
There is also a field of products specifically made to help you clean pipes, bowls, stems, and water pipes. With a multitude of manufacturers and products, options have never been more available.
Most follow the same general steps, with a soak in the product being the main focus. The largest difference usually is how long the soak time is. Personal preference will play a large role in determining which brand is right for you.
Even so, This will be a general outline of how most of these products are used. You will usually need the following:
- A container large enough for your bowl, stem, or pipe
- Your cleaning solution of choice
1. Place your piece into the container first
- Carefully place your bowl or pipe into the container to soak. This lets you line up how much of the cleaning solution you’ll need to pour over it.
2. Pour and soak
- Add enough solution to completely submerge the piece in its entirety. Most of the process will rely on the liquid being able to reach the resin buildup to do its work.
- The quantity needed is always relatively the same. Enough to cover your bowl/pipe or to fill up your water pipe at the base.
The soak time between brands varies but some of the faster-acting formulas claim to be done within the first hour. Others may take longer, with some claiming 3-5 hours for optimal performance.
For especially dirty pieces, though, some brands even recommend a full 24-hour soak.
3. Rinse
Just like with the other methods mentioned above, completely rinsing your piece is an absolute must. While a lot of formulas list their safety and organic nature, most also mention the dangers of accidental consumption.
- After your piece has soaked for the recommended time, remove it from the solution and rinse with hot water. You’ll be able to tell it’s thoroughly removed all the resin if it rinses easily.
- If some persistent grime remains, you can attempt to fish it loose with pipe cleaners or cotton swabs before rinsing again to truly remove the last vestiges of cleaner and resin. If the pipe cleaners don’t finish the job it may be necessary to repeat the soaking process again.
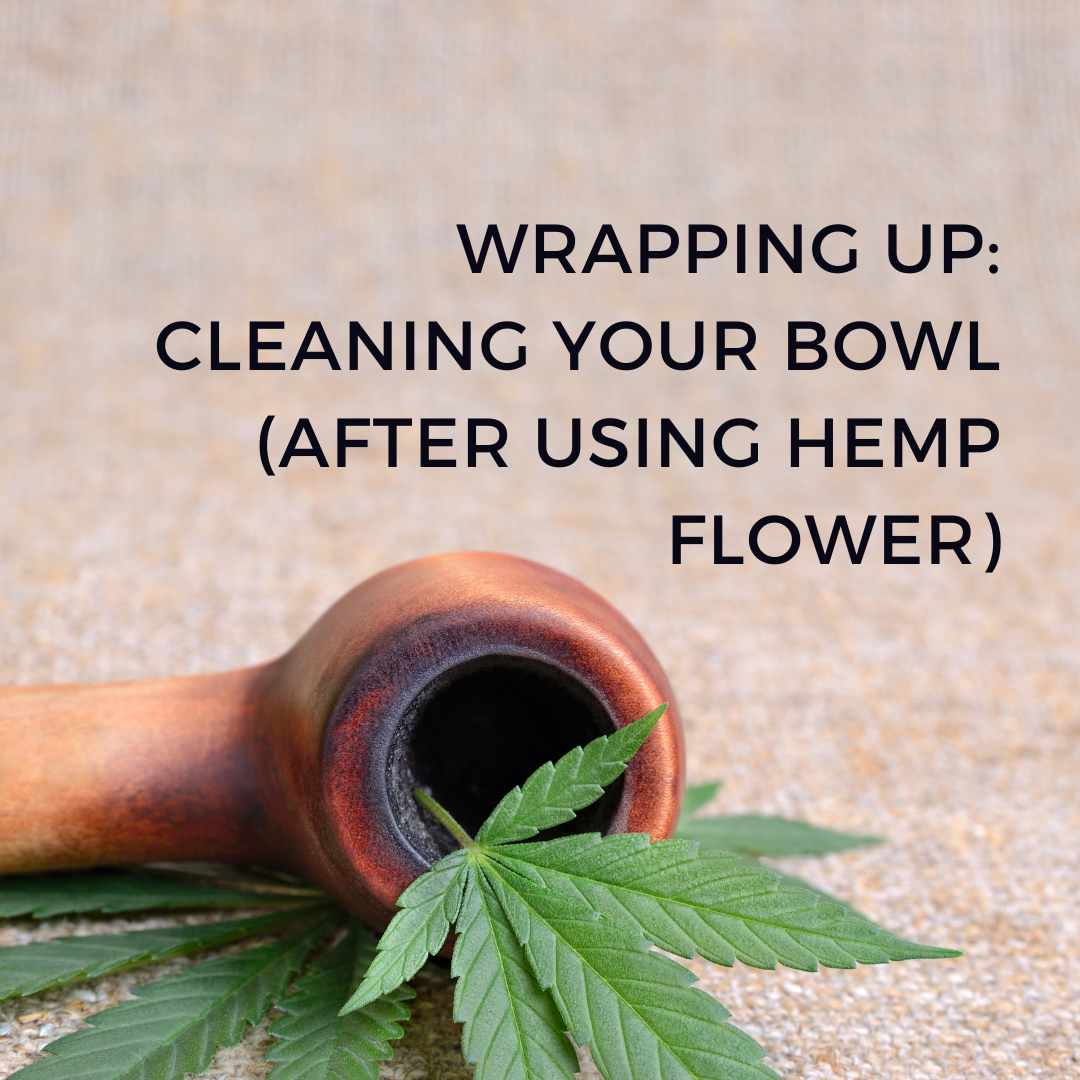 Wrapping Up: How to Clean a Bowl After Using Hemp Flower
There are many other methods on how to clean your bowl or piece. We decided to focus on the three that posed the least risk of leaving contaminants.
If you decide to use a different method than listed above, that’s okay. Make sure to look into the ingredients to prevent potentially leaving behind dangerous residue in pipes, bongs, and other pieces. Having a clean bowl is extremely important because it helps it stay safe to use.
Ultimately, whichever method you’re comfortable with will help more than leaving your piece to develop an unhealthy environment. The only way your pieces can help take care of you is if you take care of your pieces!