If you’ve heard that eating raw cannabis will knock you off your feet, that’s mostly myth. In its natural state, cannabis flower contains cannabinoid acids (like THCA and CBDA). These typically don’t produce the same effects people expect from THC or CBD.
Decarboxylation, often shortened to decarbing, is the simple heat-and-time step that “activates” those cannabinoids. When you smoke or vape, decarbing happens instantly. When you’re making edibles, tinctures, or infusions, you’ll need to decarb your flower or extract first so the cannabinoids are ready for use.
Below, we’ll cover what decarboxylation is, why it matters, and easy ways to decarb at home.
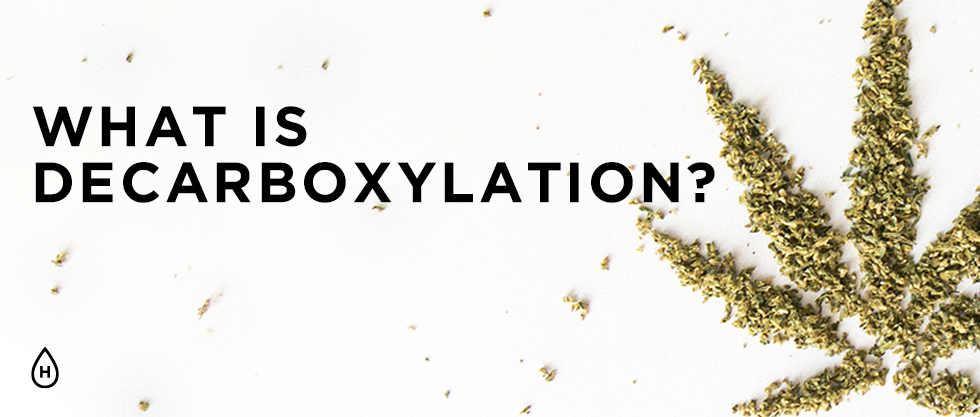
What is decarboxylation?
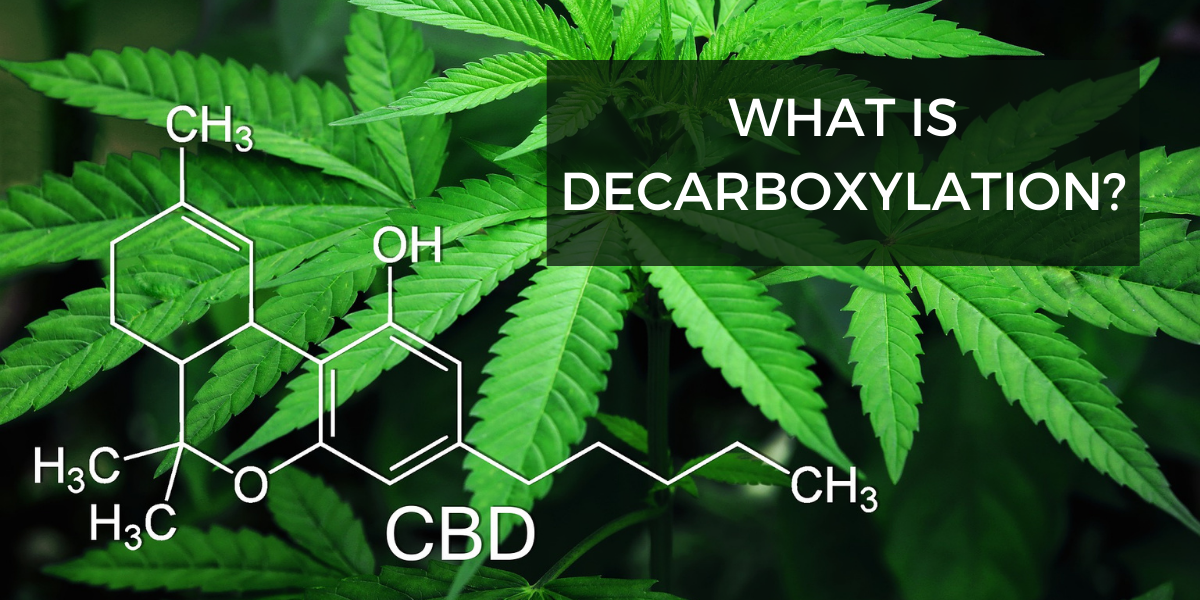
Decarboxylation is a natural chemical reaction where heat removes a carboxyl group (CO₂) from cannabinoid acids. THCA activates into THC, CBDA into CBD, and so on.
This conversion changes how those compounds interact with the body. That's why heating cannabis is an essential part of smoking, vaping, and even making edibles.
Decarbing can happen quickly (smoking/vaping) or more slowly (in an oven, jar, or sous vide). The goal is gentle, even heat so you can convert cannabinoids while preserving as much aroma and flavor as possible.
Why does cannabis need decarbing?
Raw cannabis is rich in THCA and CBDA. After decarbing, those become THC and CBD, which are the forms most people associate with cannabis’ noticeable effects. If you skip decarbing for edibles or infusions, much of your material will remain in its acidic form and won’t perform as expected.
Common mistakes (especially with DIY edibles) include:
-
Assuming baking alone fully decarbs the material.
-
Infusing oils/butters without decarbing first.
A short, controlled decarb step helps you use your ingredients more effectively.
Do smoking and vaping count as decarbing?
Yes. When you smoke or use a dry herb vaporizer, you’re decarbing in real time. The heat instantly converts THCA into THC and CBDA into CBD just before you inhale. That’s why raw cannabis doesn’t feel the same as smoking or vaping. The cannabinoids haven’t been “activated” yet.
This is also true for concentrates like wax, shatter, or live resin. Even though these products often start with THCA or CBDA, the heat from dabbing or vaping transforms them on the spot.
How cannabinoids transform
Most cannabinoids in raw cannabis exist in their acidic forms: THCA, CBDA, and others. These aren’t psychoactive in the way THC is, but they change when heated.
-
Before decarbing: Cannabinoids carry an extra carboxyl group (COOH).
-
During decarbing: Heat removes that group as CO₂.
-
After decarbing: THCA becomes THC, CBDA becomes CBD.
Once converted, these cannabinoids interact with the body differently than in their raw state. That’s why decarboxylation is essential for edibles, tinctures, and many extracts.
Does decarboxylation affect CBD?
Yes — but not in a negative way. Just like THCA, CBDA requires heat to convert into CBD. Without decarbing, much of the CBD remains locked in its acidic form and won’t provide the same experience.
CBD-rich flower, hemp products, and extracts all benefit from decarboxylation. It doesn't matter the method, whether through smoking, vaping, or gentle heating before infusion.
Do concentrates need to be decarbed?
Most concentrates don’t need a separate decarb step if you’re smoking, vaping, or dabbing them. That’s because the heat applied during use instantly converts cannabinoid acids like THCA and CBDA into their active forms.
However, if you plan to use concentrates in edibles or tinctures without heating them first, you’ll still need to decarb. Otherwise, the cannabinoids may remain in their acidic, inactive state.
How long should cannabis decarboxylate?
The time it takes to decarb depends on temperature. Lower heat takes longer but preserves more cannabinoids and terpenes. Too much heat risks scorching the plant material and losing both potency and flavor.
- General guideline: 220–240°F (104–115°C) for 30–45 minutes
-
Tip: Use an oven thermometer if possible, since household ovens can fluctuate 20°F or more.
THCA typically converts faster than CBDA, which means CBD-rich flower may need the full 45 minutes or longer to maximize conversion.
Methods for decarbing at home
There are several ways to decarb cannabis safely at home. Each uses the same basic formula, heat + time, but offers different benefits.
-
Oven Tray Method: Simple and accessible, using just a baking tray and parchment paper.
-
Mason Jar Method: Helps control odor and preserve more terpenes.
-
Sous Vide Method: Precise and reliable, though it requires extra equipment.
Below, we’ll walk through each step by step.
Decarbing in an oven (with baking tray)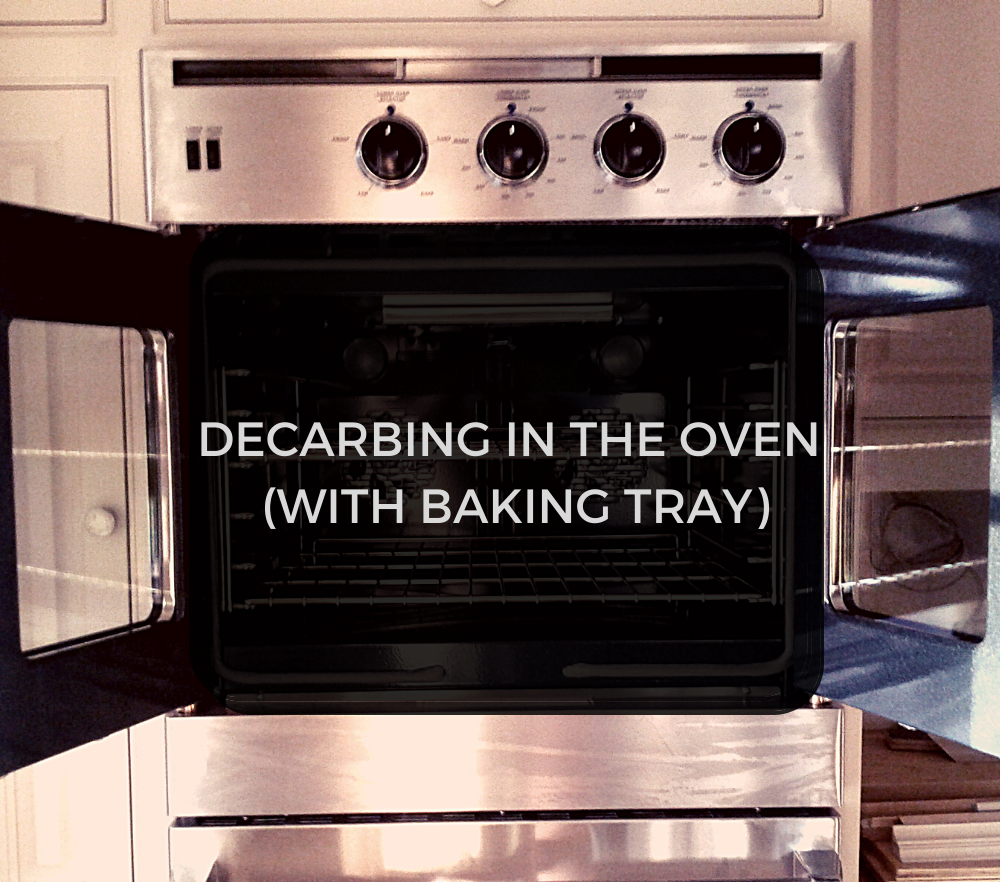
The oven tray method is the most common way to decarb cannabis at home. It’s simple, inexpensive, and works with standard kitchen equipment.
What you’ll need:
-
Baking tray
-
Parchment paper (preferred) or aluminum foil
-
Cannabis flower
-
Oven thermometer (optional, but recommended)
Steps:
-
Preheat your oven to 225°F (about 107°C) and place the rack in the center position.
-
Line your baking tray with parchment paper to reduce direct heat contact.
-
Break up cannabis into small, rice-sized pieces and spread evenly across the tray.
-
Cover loosely with another sheet of parchment paper or foil.
-
Bake for 30 to 45 minutes, checking occasionally to make sure it doesn’t brown too quickly.
-
Remove from oven and let cool for about 30 minutes.
-
Store in an airtight container until you’re ready to use.
Pro tip: Ovens often run hot or fluctuate by 20°F or more. An oven thermometer can help you keep temperatures steady and avoid burning valuable cannabinoids and terpenes.
Decarbing in oven (with Mason jar)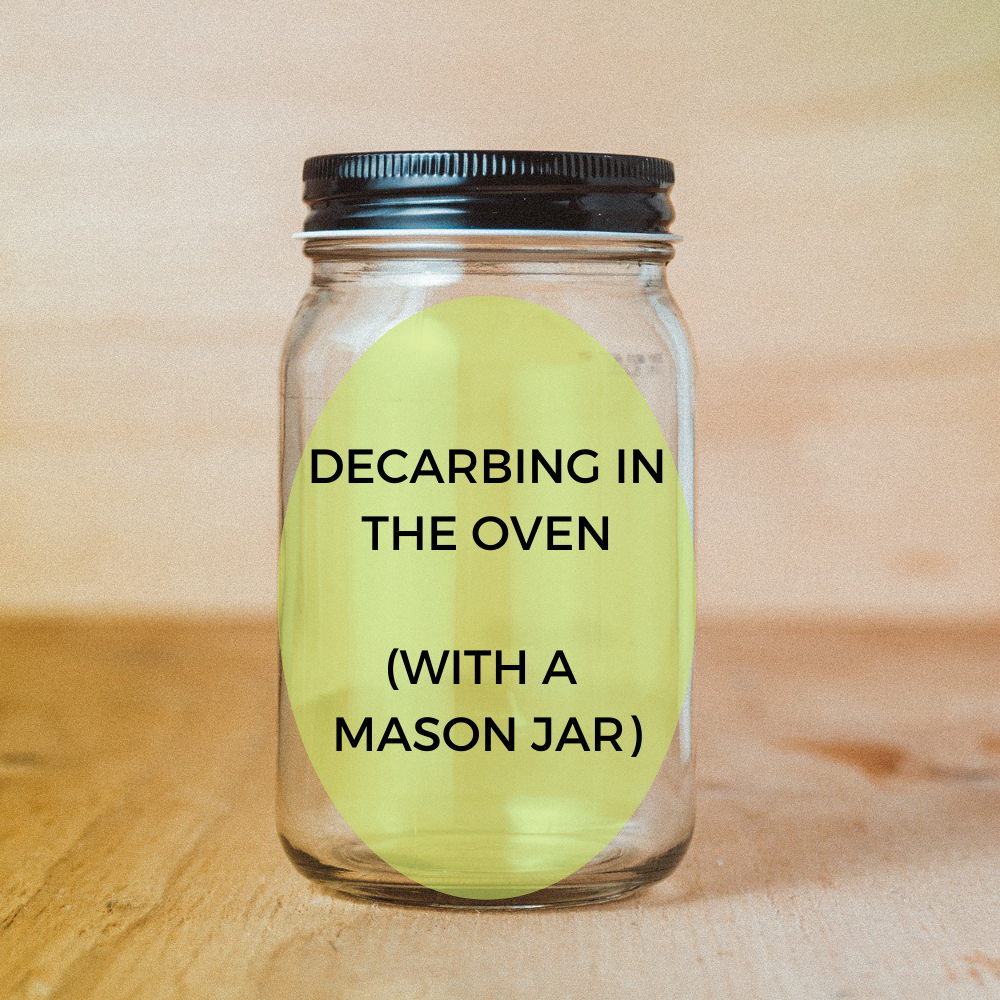
The mason jar method works similarly to the tray method but helps with odor control and terpene preservation. By sealing your cannabis in a jar, fewer aromatic compounds escape during the heating process.
What you’ll need:
-
Mason jar with lid
-
Baking tray
-
Kitchen towel
-
Cannabis flower
-
Oven gloves
Steps:
-
Preheat your oven to 220–240°F (104–115°C) and place the rack in the middle.
-
Break cannabis into rice-sized pieces and place them loosely inside the mason jar.
-
Lightly secure the lid (do not overtighten).
-
Place a damp kitchen towel on your baking tray and set the jar on top to prevent sliding.
-
Bake for 60 minutes, carefully removing the jar every 15 minutes to shake and redistribute the cannabis.
-
Allow the jar to cool for 30 minutes before opening or storing.
Pro tip: The jar can collect condensed terpenes on its walls. If you plan to make infusions, reuse the same jar to keep those compounds in your final product.
Decarbing with the sous vide method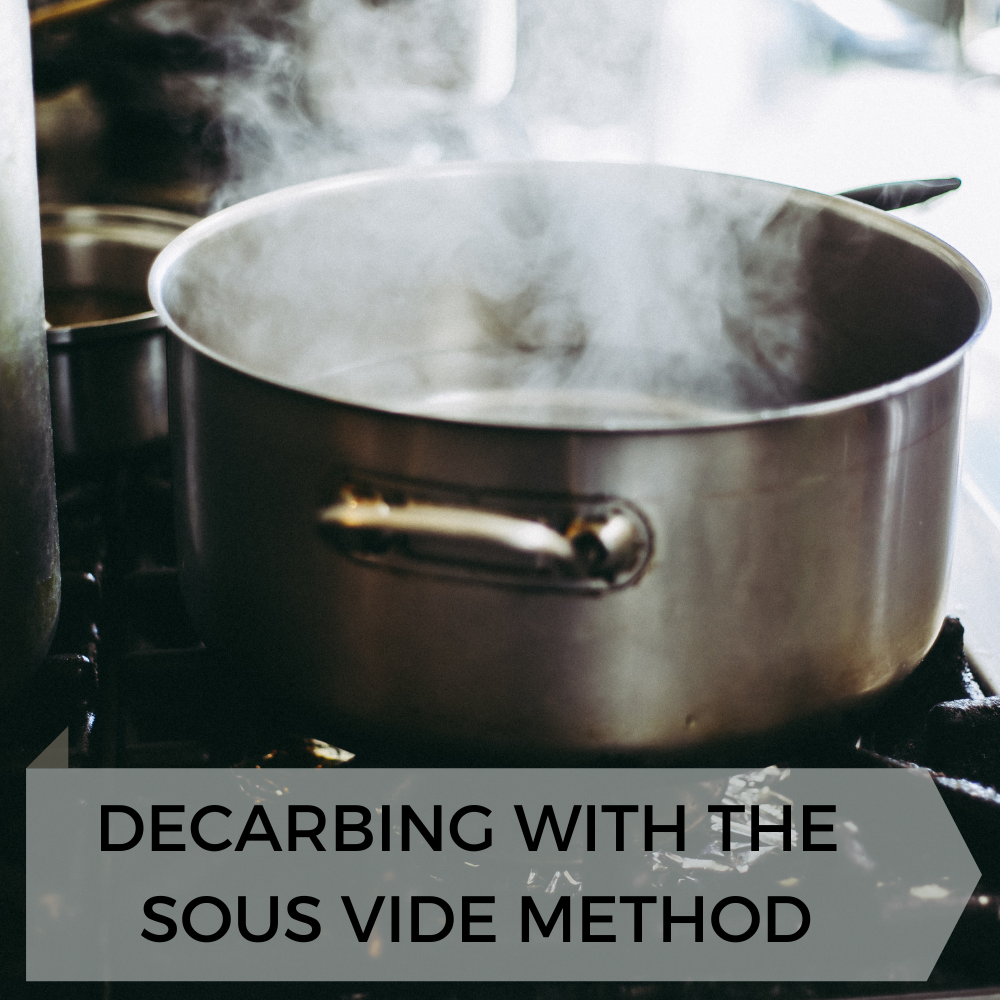
Sous vide is one of the most precise ways to decarb cannabis. It uses water and an immersion circulator to hold temperatures steady, minimizing terpene loss and producing little to no odor.
What you’ll need:
-
Immersion circulator (sous vide device)
-
Large pot or heat-safe container
-
Vacuum sealer or zip-top freezer bag
-
Cannabis flower
Steps:
-
Fill your container with water and set the immersion circulator to 203°F (95°C).
-
Grind cannabis to a fine texture to maximize surface area.
-
Seal cannabis in a vacuum bag, or use the water displacement method with a zip-top freezer bag.
-
Submerge the sealed bag in the heated water bath for 90 minutes.
-
Remove, let cool for 15–20 minutes, then dry the bag and transfer cannabis to an airtight container.
Water Displacement Method (for zip-top bags):
-
Close the bag about 80%.
-
Slowly lower it into water, letting air escape through the top.
-
Seal fully once most air is out.
Pro tip: While sous vide requires more setup, it’s considered one of the most reliable methods for consistent results — especially for those who decarb regularly.
Wrapping Up On: What is Decarboxylation?
Decarboxylation is the key to unlocking the full potential of cannabis. Without it, cannabinoids like THCA and CBDA remain in their raw forms, producing very different effects than most people expect from THC or CBD. Whether you’re smoking, vaping, or making edibles, decarbing ensures your cannabis is ready to use as intended.
At home, the process is simple: apply steady heat for the right amount of time. From oven trays to mason jars to sous vide setups, each method has its advantages. Once you’ve tried decarbing for yourself, you’ll have more control over how your flower or extracts perform in recipes, infusions, or other preparations.
FAQs About Decarboxylation
Can you decarb cannabis without an oven?
Yes. Options like sous vide or slow cookers can also be used, though ovens are the most accessible method for most people.
Does eating raw cannabis get you high?
Not usually. Raw cannabis is rich in cannabinoid acids like THCA and CBDA, which don’t have the same effects as THC and CBD until they’re decarbed.
What’s the best temperature to decarb cannabis?
Most people use 220°F to 240°F (104°C to 115°C). Lower temperatures preserve more terpenes, while higher heat can speed up the process but risks burning cannabinoids.
How long should cannabis decarb?
Around 30 to 45 minutes in the oven is typical, depending on temperature and cannabinoid profile. CBD-rich flower often needs closer to the full 45 minutes.
Do concentrates need to be decarbed?
Not if you’re dabbing or vaping them. The heat activates them instantly. But if you’re adding concentrates directly into recipes, you’ll need to decarb them first.